Tutorial — first link page (screenshots)
Tutorial: Follow the screenshots step-by-step. For exact field rules and edge cases, open Create your first link page.
This page is a visual walkthrough of the product. For exact field rules and option behavior, use Create your first link page alongside it.
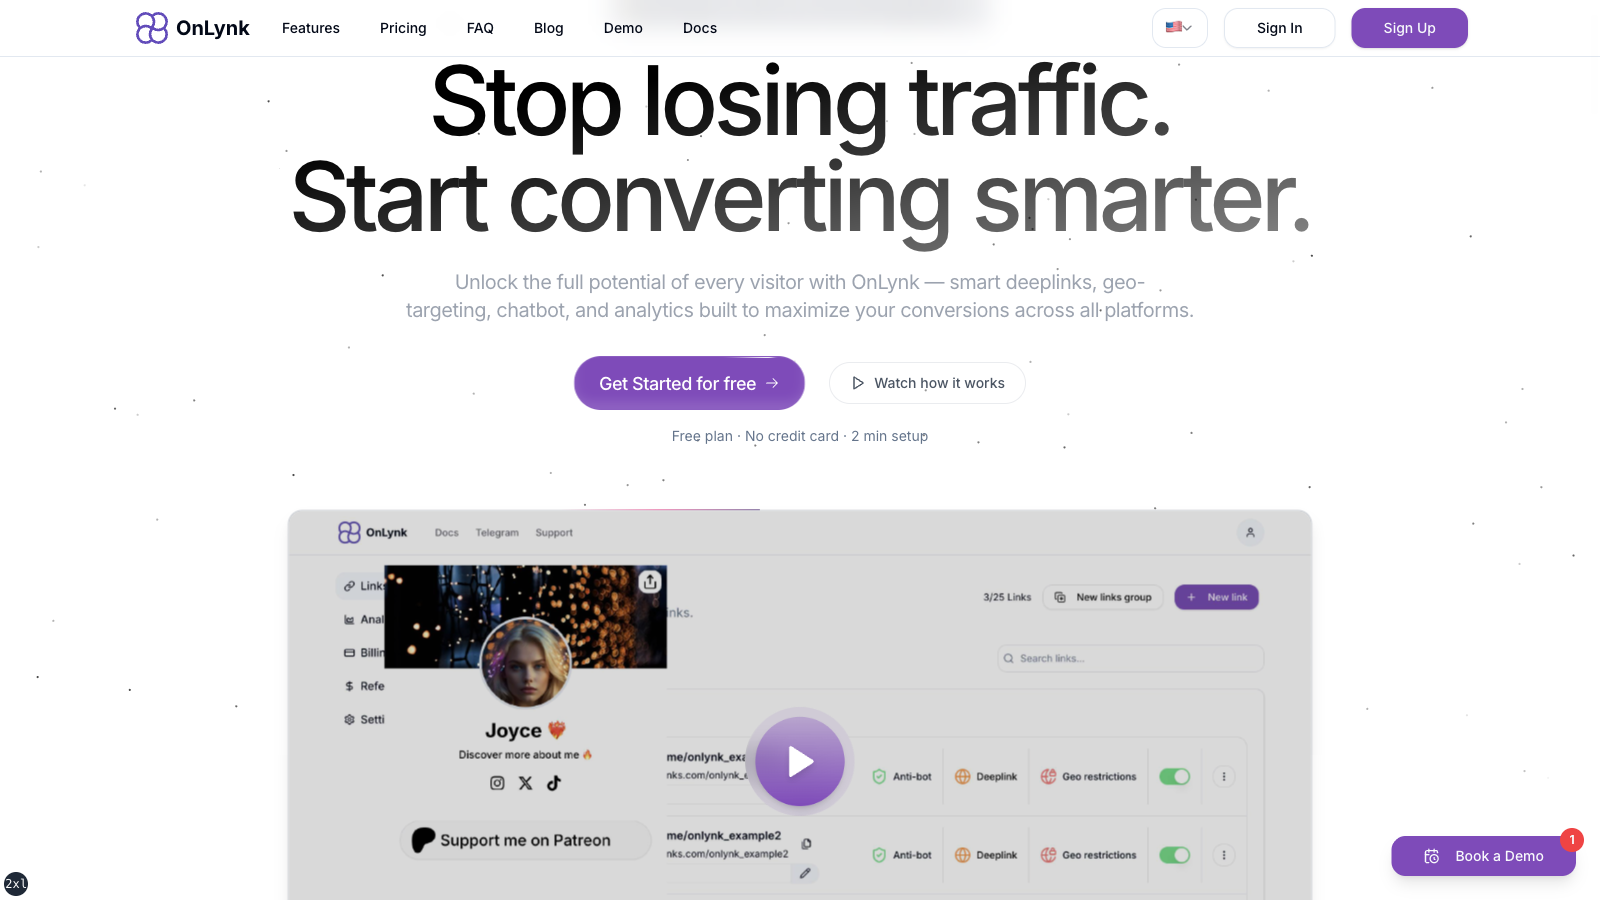
1. Open the marketing site
Section titled “1. Open the marketing site”Go to onlynk.me. The home page presents the product positioning and entry points to sign up or sign in.
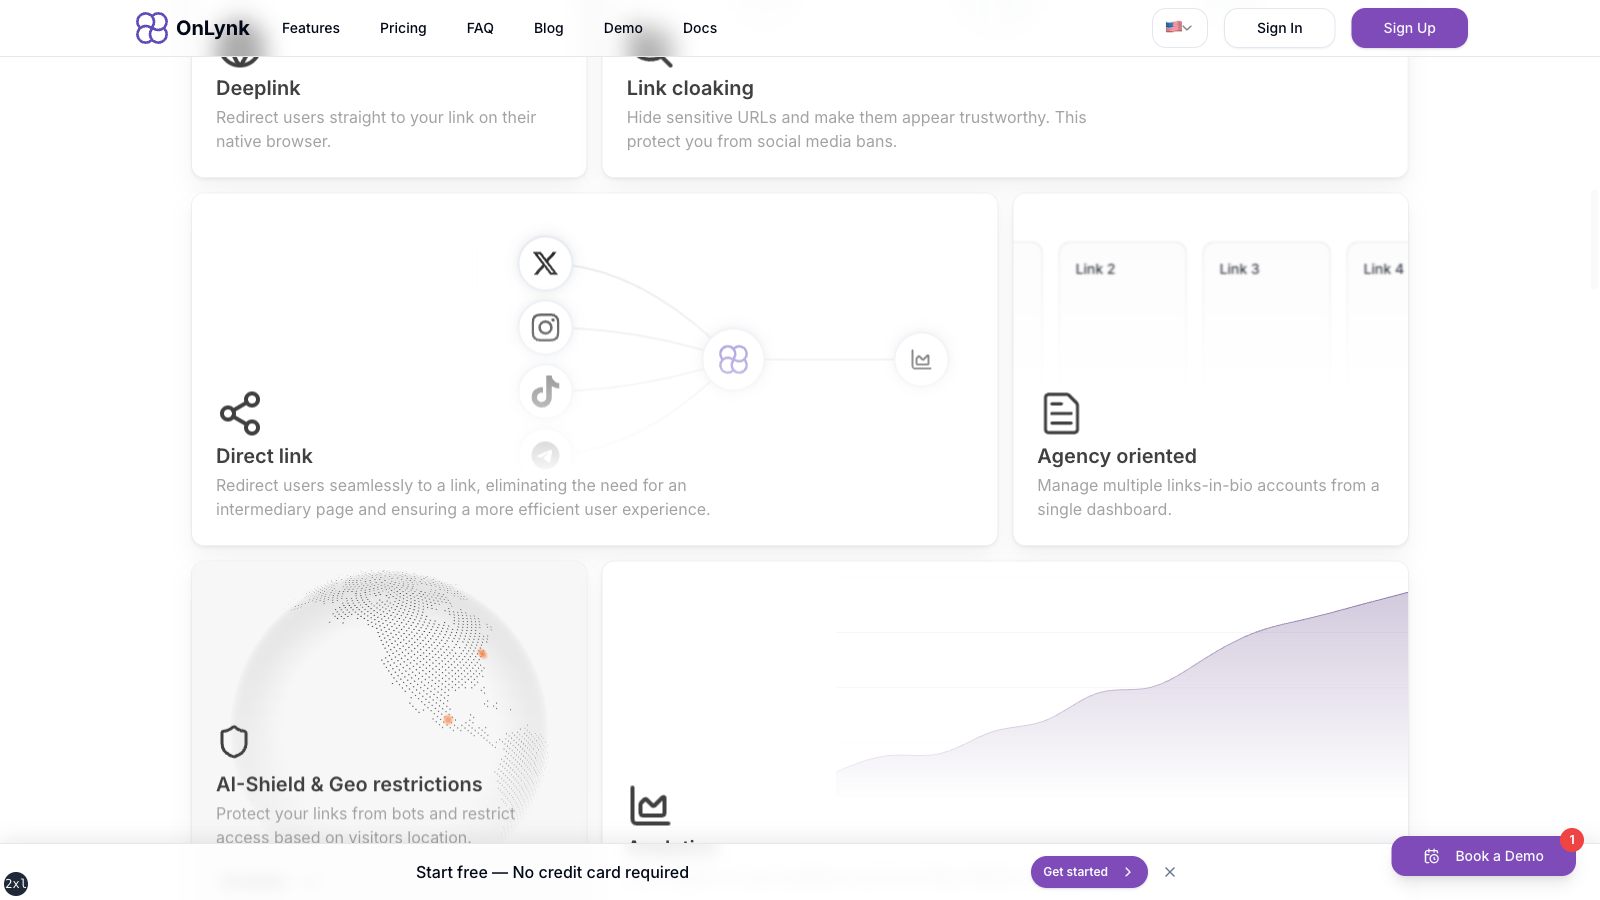
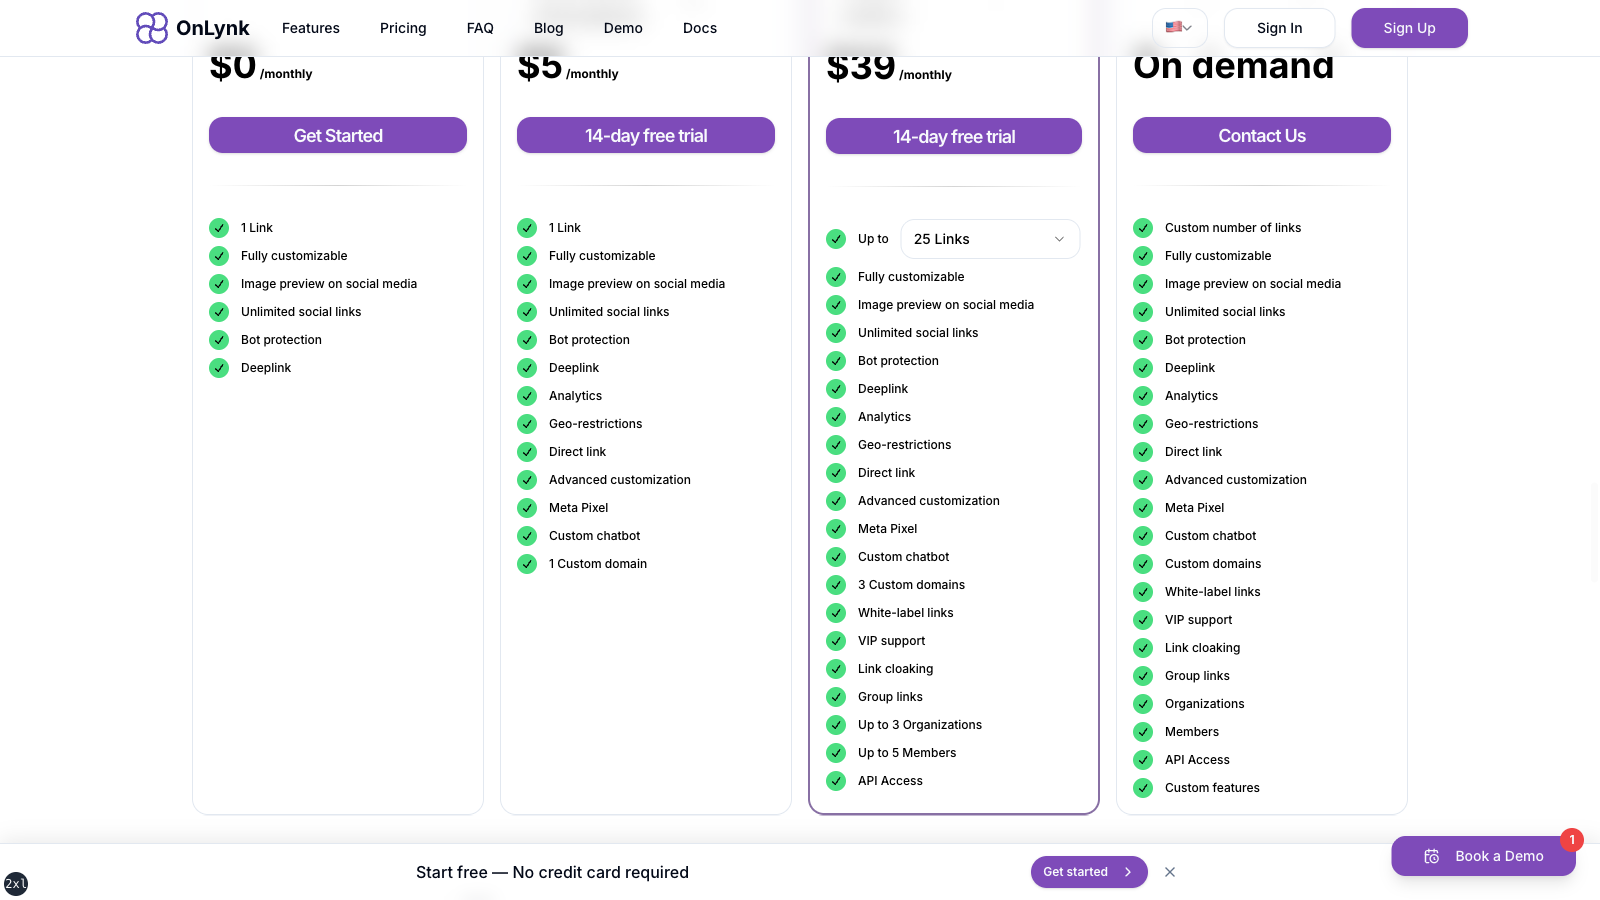
2. Explore features and pricing (optional)
Section titled “2. Explore features and pricing (optional)”Scroll to Features and Pricing on the same page to compare plans before subscribing.
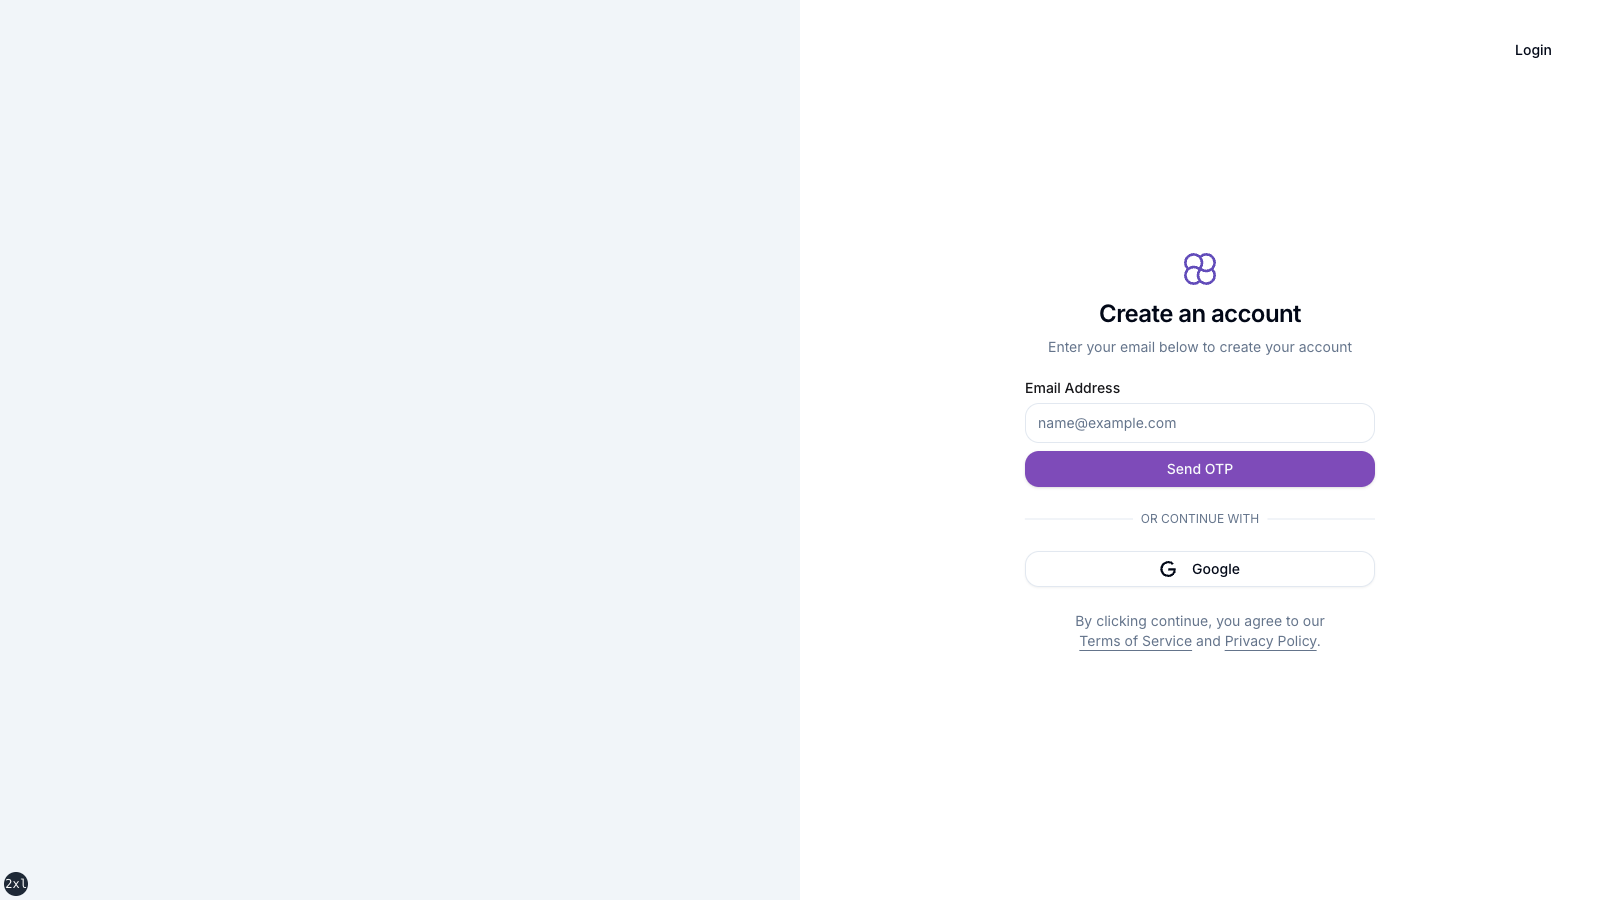
3. Create an account
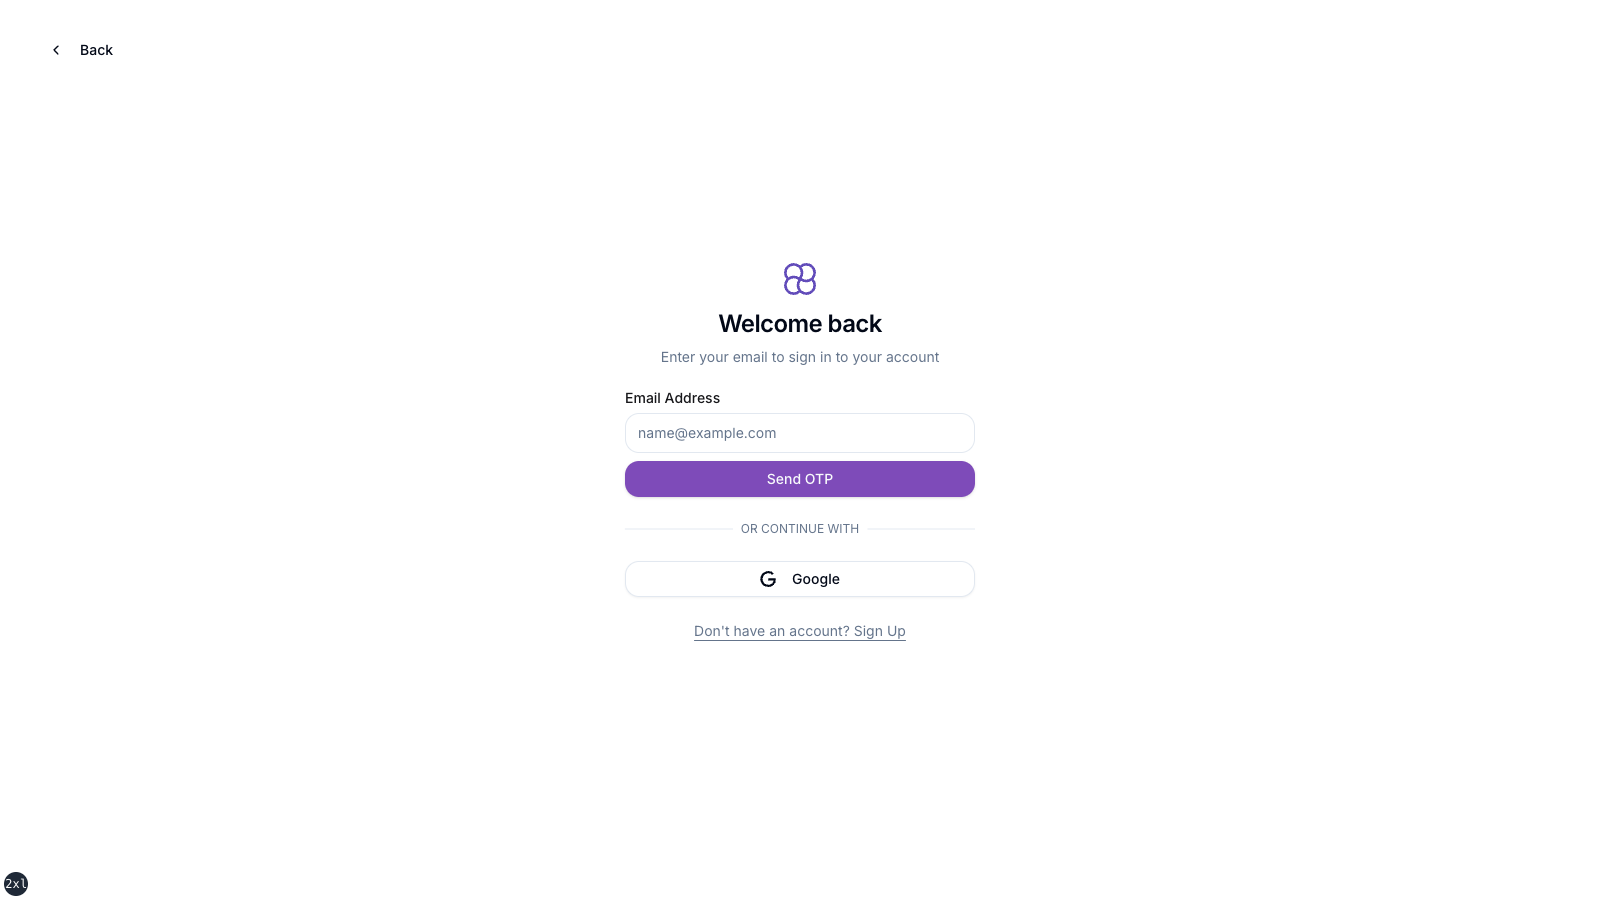
Section titled “3. Create an account”Open Sign up and complete the flow (email / OAuth depending on what the product shows).
If you already have an account, use Sign in instead:
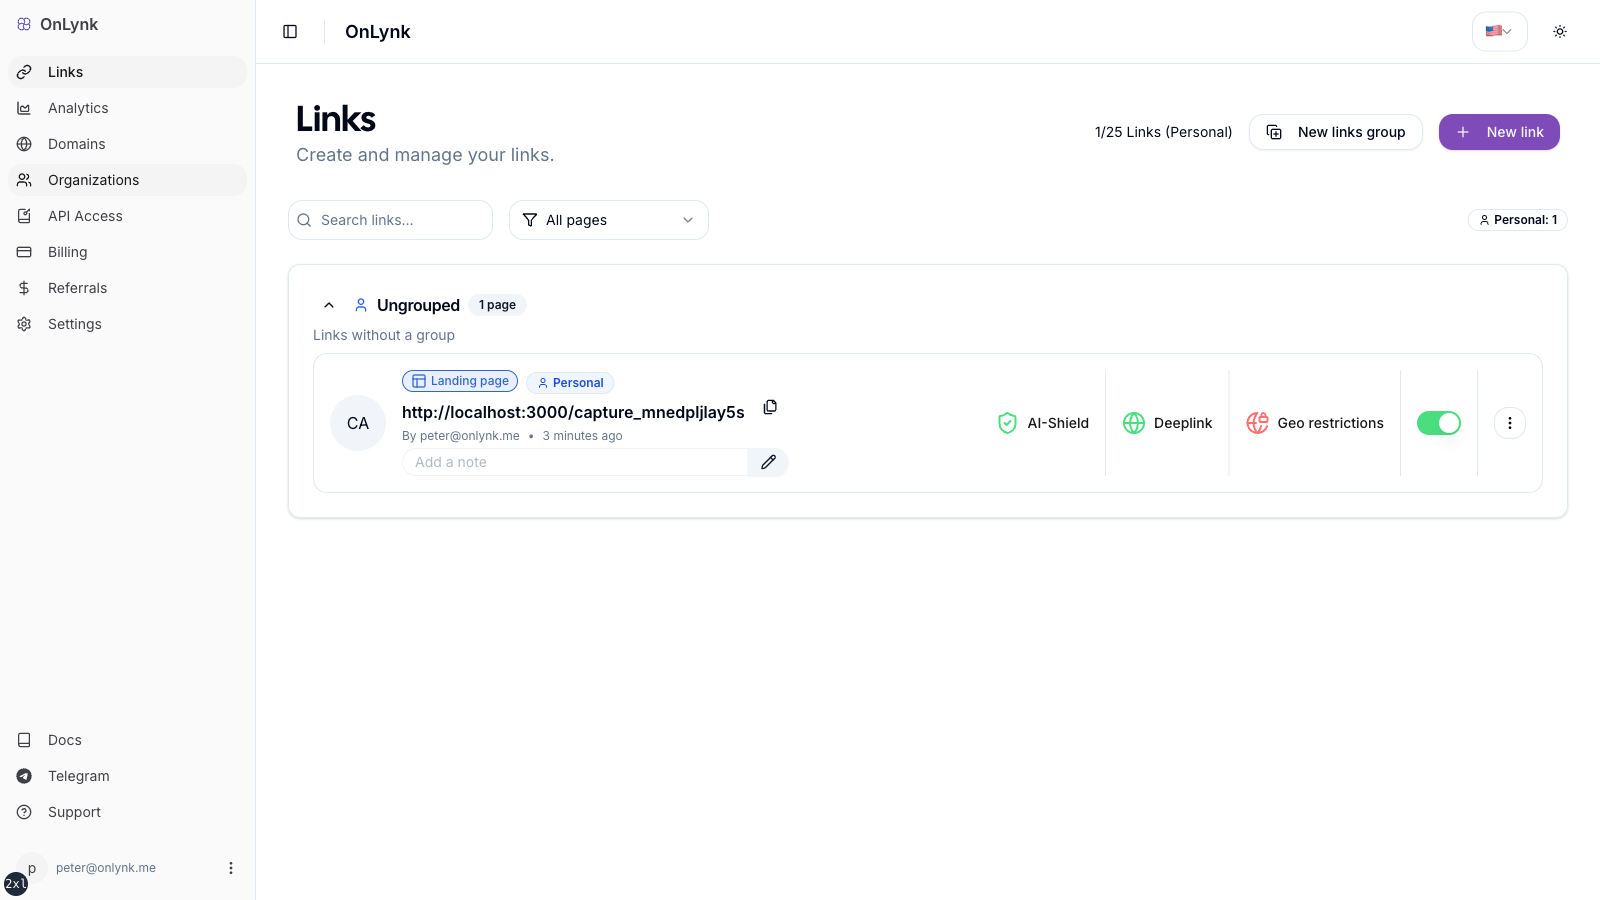
4. Dashboard — your workspace
Section titled “4. Dashboard — your workspace”After authentication you land in the dashboard. From here you manage link pages, billing, and settings.
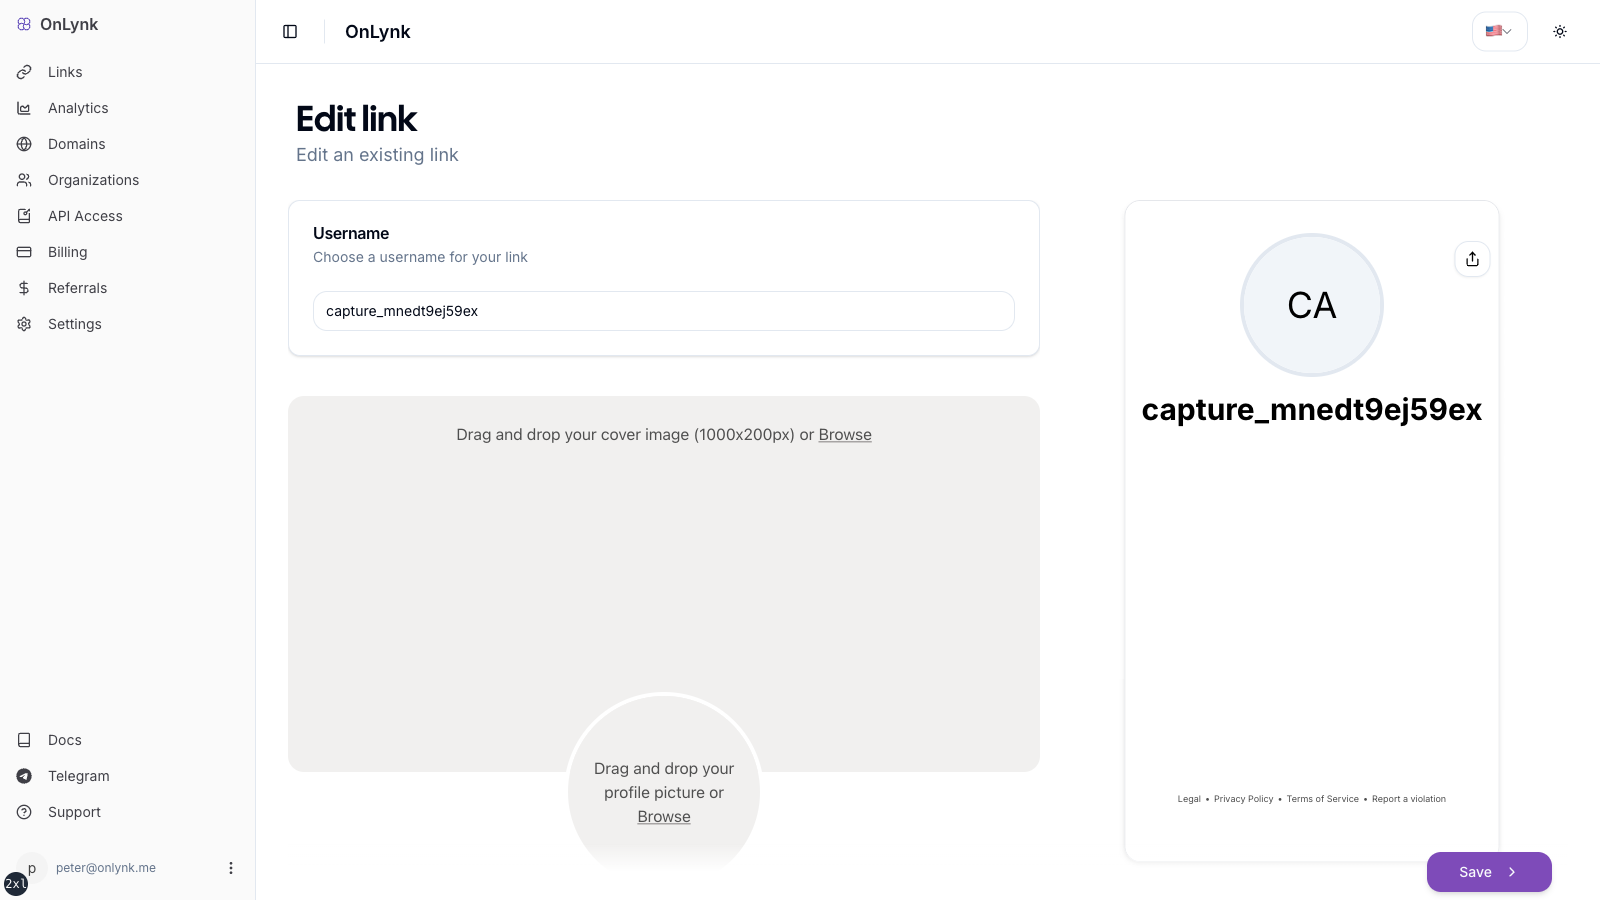
5. Create and customize a link page
Section titled “5. Create and customize a link page”Open Create new link (or equivalent), then work through the steps in the UI. The screen below is the main editor — do not duplicate the field list here; see Create your first link page for labels, validation, cloaking, appearance keys, and plan gates.
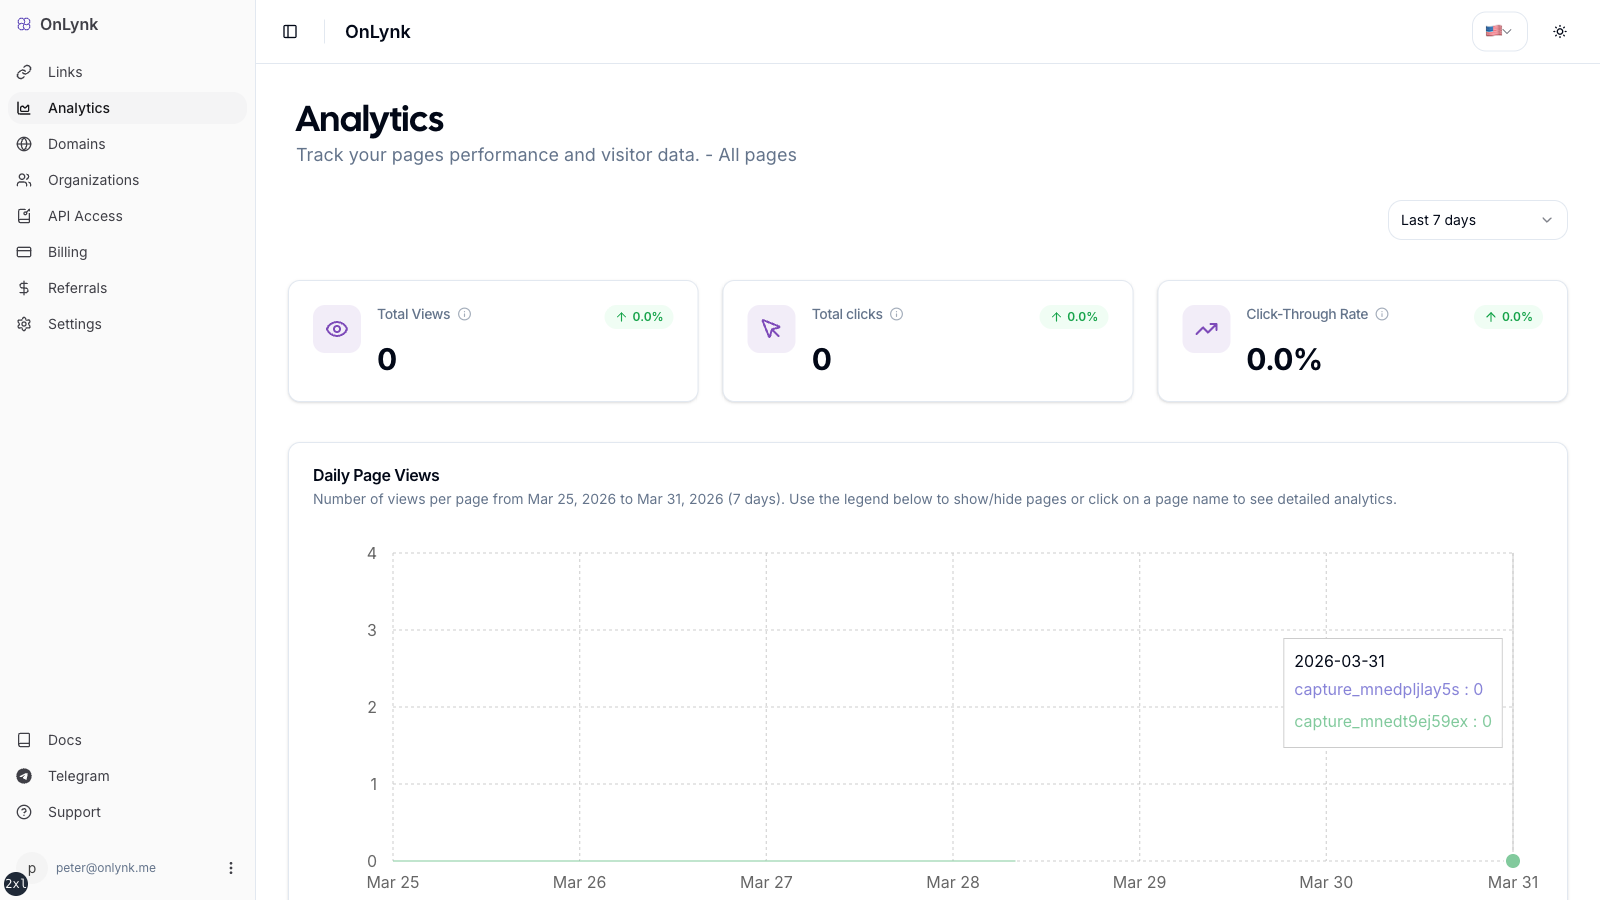
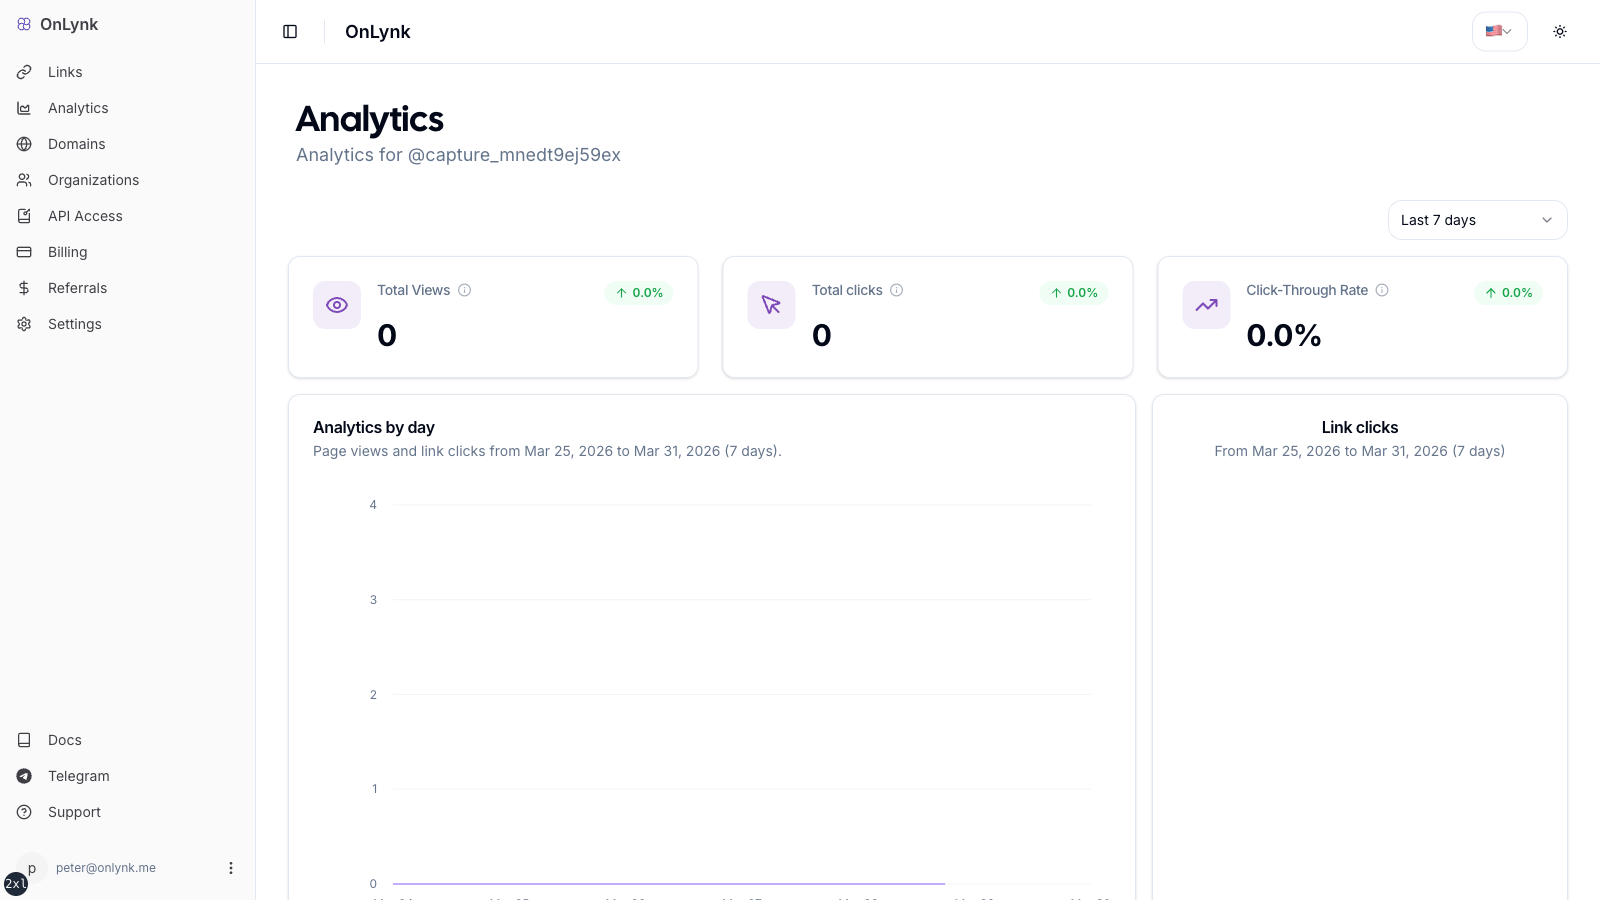
6. Analytics (per page, if your plan includes it)
Section titled “6. Analytics (per page, if your plan includes it)”Open Analytics for a page to review traffic, referrers, geography, and clicks over a date range.
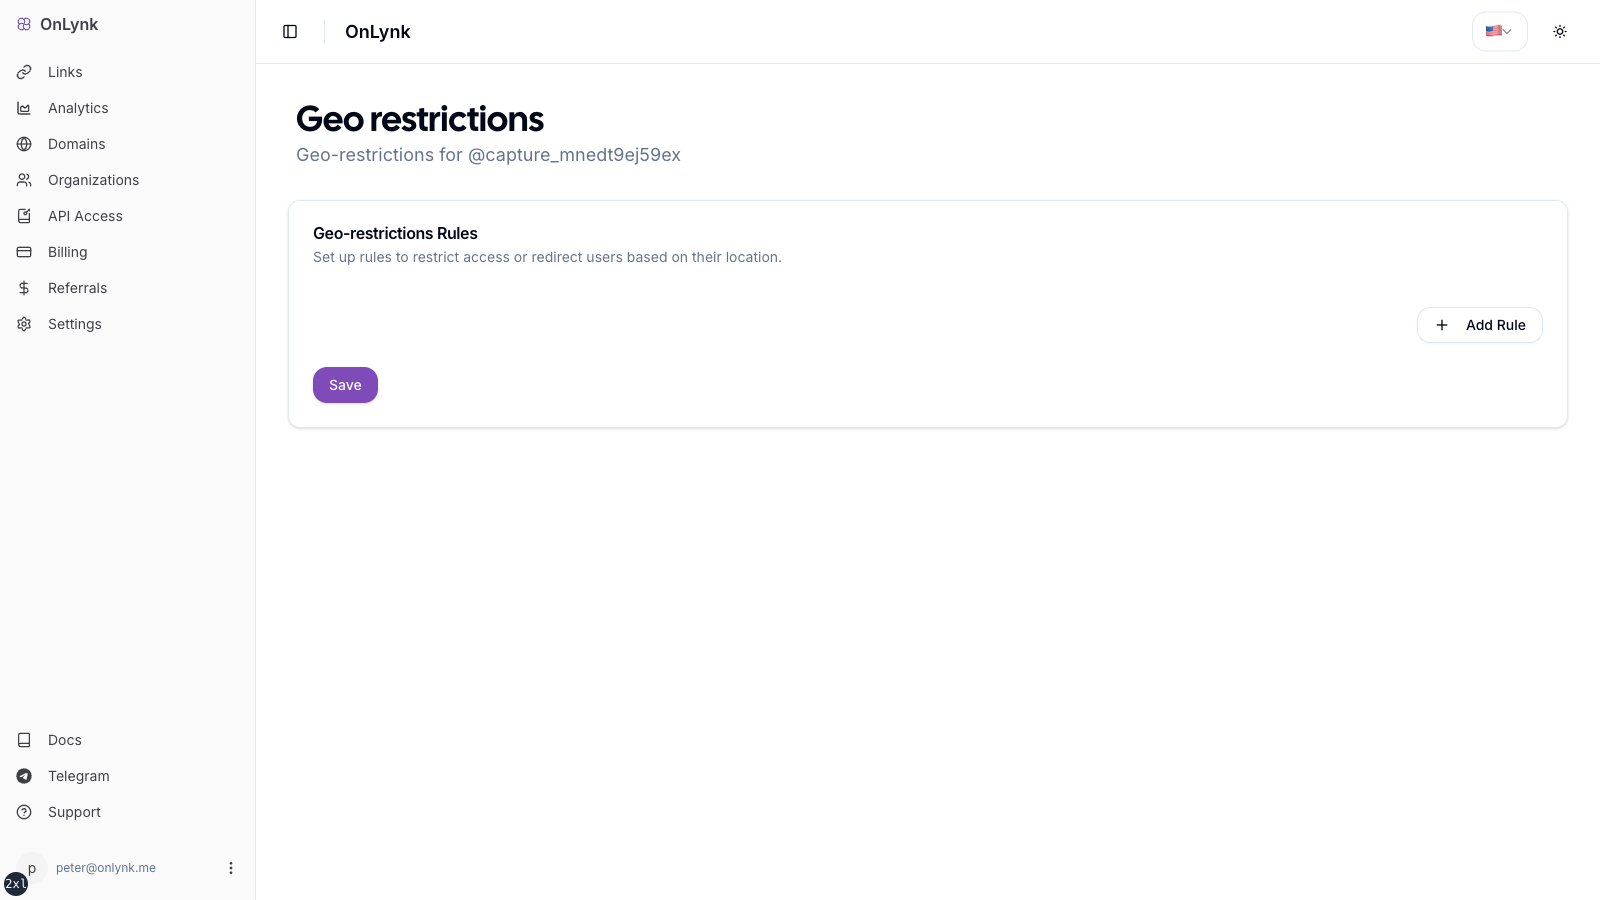
7. Geo-restrictions (if your plan includes it)
Section titled “7. Geo-restrictions (if your plan includes it)”Configure country / city rules and actions (BLOCK, REDIRECT, PAGE) in the page settings.
Next steps
Section titled “Next steps”- Create your first link page — Editor reference (only place you need for field-by-field detail)
- Page analytics — What is recorded and how to read it in the dashboard
- Glossary — Event types and terminology